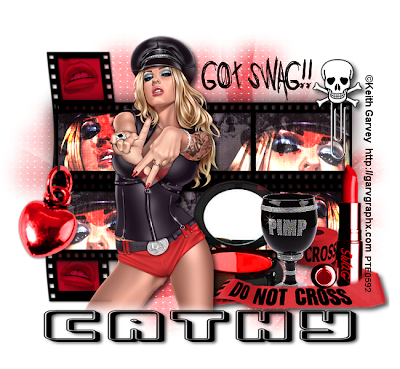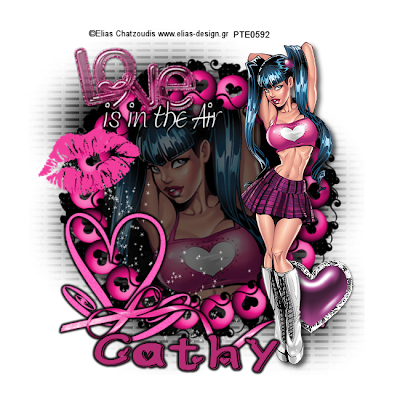
Supplies
Tube of choice - I am using the artwork of Keith Garvey which is now available to purchase from Psp Tubes Emporium
Scrapkit - a fabulous freebie kit from Vaybs called 'Pimp my Swag' which you can find on her blog here
Thanks Vaybs!
Mask of choice - I am using DBV mask 89 here
Font of choice - I am using 'Jo wrote a lovesong' and 'Urban Constructed'
Open a new image in PSP and floodfill white
copy & paste element 37 as a new layer
using your selection tool set on rectangle, draw a rectangle around the frames
copy paper12 and paste as a new layer, drag below the frame layer and position
selection invert and delete, do not deselect yet
copy a close-up of your tube and paste as a new layer, position how you want it to appear within the frame and then hit delete again, go back to your tube image and mirror it, copy and paste as a new layer, position again within the frames and hit delete, select none
merge down the 2 tube layers and change the opacity to dodge
add a drop shadow to the frame 1 1 70 5 black
hide the background layer and merge visible all layers, duplicate,
unhide background and move the duplicate layer below the first one, mirror,
merge these 2 layers and duplicate
on the bottom layer apply a gaussian blur at 15 and merge these 2 layers
Copy & paste element 46, using your magic wand click inside all the frames and expand by 7
add a new raster layer & floodfill with a colour from your tube
drag below frame layer, paste some close-up images of your tube again, invert and delete
change the opacity of the tube layers to multiply, apply above drop shadow to frame
merge these layers together and move below the main frame layer to the side
merge down these layers
Add your main tube and drop shadow 5 5 70 11 black
add some elements from the kit and colourise to match your tube using the hue & saturation tool
apply a new raster layer above the background layer, select all
copy & paste Paper5 into selection, colourise and select none
apply your mask to the paper layer, delete & merge group
hide background and merge visible
resize and crop your tag
add your name & copyright info
delete the background layer & save as a Png!

