Scrapkit - 'Off to Tipperary' freebie add on by Hezalin of Terminally Unique which you can get Here
Saturday, 28 February 2009
An Irish Blessing
Scrapkit - 'Off to Tipperary' freebie add on by Hezalin of Terminally Unique which you can get Here
Tuesday, 24 February 2009
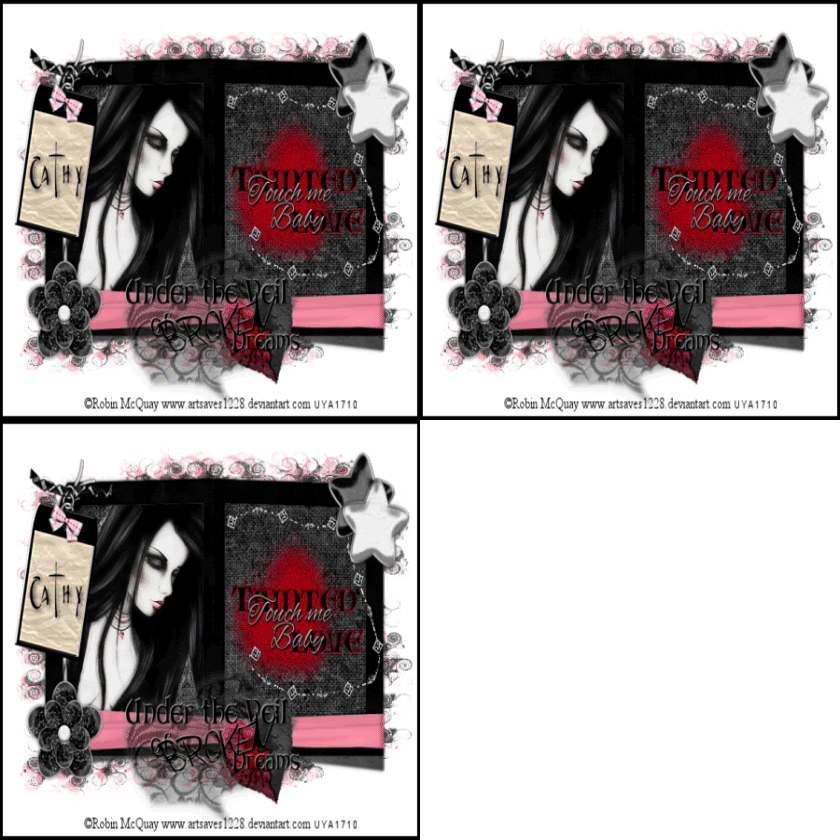
Tainted Love
Supplies
Tube of choice - I am using the artwork of Robin McQuay which can be purchased from UpYourArt
Scrapkit - 'Pink struck' by Foxy which you can download from her blog here
Wordart by TizzysAngel which you will find here
Mask - WSL258 which you can get here
Thanks ladies for the beautiful freebies!
Font of choice
Plugins- Xenofex constellation
OK - Open a new image 650x 550 floodfill white
Open Frame 2 from the kit, copy & paste as a new layer, resize by 85%
With your selection tool set on rectangle, draw around the 2 inner frames, copy paper2 & paste as a new layer, selections, invert, delete and move below the frame layer
Paste your tube as a new layer inside one of the frames, erase any overhang or draw a selection around the frame and invert, back to your tube and hit delete.
Copy & paste flower3 as a new layer, resize and position at bottom of frame, open 2 of the stars, resize & position at top of frame
Open tag1 copy & paste as a new layer, resize & position on top left corner, use your raster deform tool to rotate it slightly, sharpen more - copy ribbon 1 and paste as a new layer, resize and position on the tag, erase a bit so it looks like it is going through the chain
copy & paste the diamond rope, resize and sharpen more
Now open the WordArt by Tizzy - it is all on different layers - position one inside the other frame and add another at bottom of tag
Add your name to the tag and add a drop shadow of 2 3 70 7
Hide your white background & merge visible
Now add a paper from the kit as a new layer and apply the mask - I applied the mask twice, once to a pink paper and then to the grey paper and merged down - use your deform tool to push the mask layer in a bit
Add your copyright information
Animation
Make sure you are on the mask layer
Click on effects, xenofex constellation
Click on settings and highlight small star constellation
The only thing you need to change is to click in the 'keep original image'
Click ok and copy merged - paste into ani shop as a new image
Back to PSP, edit, undo constellation then add constellation again but click on the random seed button, ok, copy merged, paste into ani shop after current frame
Repeat this step once more, view your animation, save as a gif!
Spring Flowers
Sunday, 22 February 2009
Flirt!
Spring Eternal
Saturday, 21 February 2009
Luck 'O the Irish!
Thanks Seachell for your awesome freebies!!
Irish Charm
Wednesday, 18 February 2009
Chase the blues away
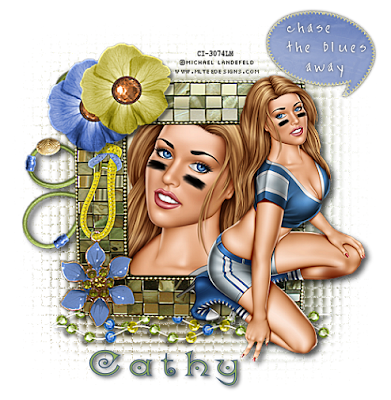
Save as a jpeg or delete the white background & save as a Png
Sunday, 15 February 2009
Magical Moments
Perfectly Bad
Friday, 13 February 2009
Erin go bragh

Thursday, 12 February 2009
Spring to Mind
Morning Glory
Add your name & copyright info
Wednesday, 11 February 2009
Pure Pleasure
Monday, 9 February 2009
Is This Love
Sunday, 8 February 2009
True Love
Red Hot Romance
Saturday, 7 February 2009
The Key to My Heart
How the west was won
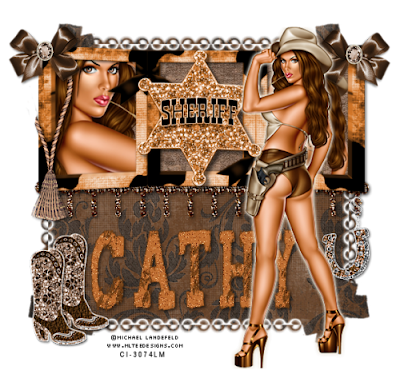
Tube of choice - I am using the artwork of Michael Landefeld which can be purchased from CILM
Scrapkit - 'cowchips' by Toni at Scraparoni Here under freebies...thanks Toni for this beautiful kit!
Mask - WSL mask 272 which can be downloaded from her site here
Font - Tiza here
OK - open a new image 600x600 floodfill white
Open frame 2 from the kit and colourize by using the change to target tool - hue & saturation 18 148
Paste as a new layer and resize by 80%
Click inside all the frames with your magic wand - open paper3 and paste as a new layer, selections, invert, delete and drag below the frame layer
Open the tubes you are using - make sure you are on the frame layer again and click inside the first one, paste your tube as a new layer - selections, invert, delete and drag below frame layer....do the same with the third frame
Open the badge and colourize as before, resize and paste in the middle frame, sharpen and add drop shadow 2 2 60 6
Open tassel 1 resize and paste as new layer on left side of frame, sharpen. drop shadow as b4 and then erase the outer side of the rope so it looks like its hanging over the frame
Open bow 1 resize by around 40% paste as new layer, sharpen & drop shadow, duplicate & image mirror
Open beads 2 paste as a new layer, resize by around 70% move them below the frame and using your raster deform tool, squeeze them in so they fit the frame, sharpen & drop shadow
You can now hide your white background and merge visible
Open paper 1 and paste as a new layer above white background, apply mask, delete & merge group, resize by 85%
Open boot2 from kit, resize, sharpen & drop shadow, place at bottom of tag, duplicate and position - see above tag - open charm 1 and resize by around 40% position as above
Add your tube, resize if necessary, sharpen and drop shadow
Now add your name using font supplied...add noise at random 12
Add any copyright information and you are done
save as a jpeg or png
©Michael Landefeld CI-3074LM. This tutorial was written on 18th November 2008 by Cathy. Any resemblance to any other tutorial is purely coincidental. Do not copy, rewrite or alter in any way.
All You Need is Love
SUPPLIES
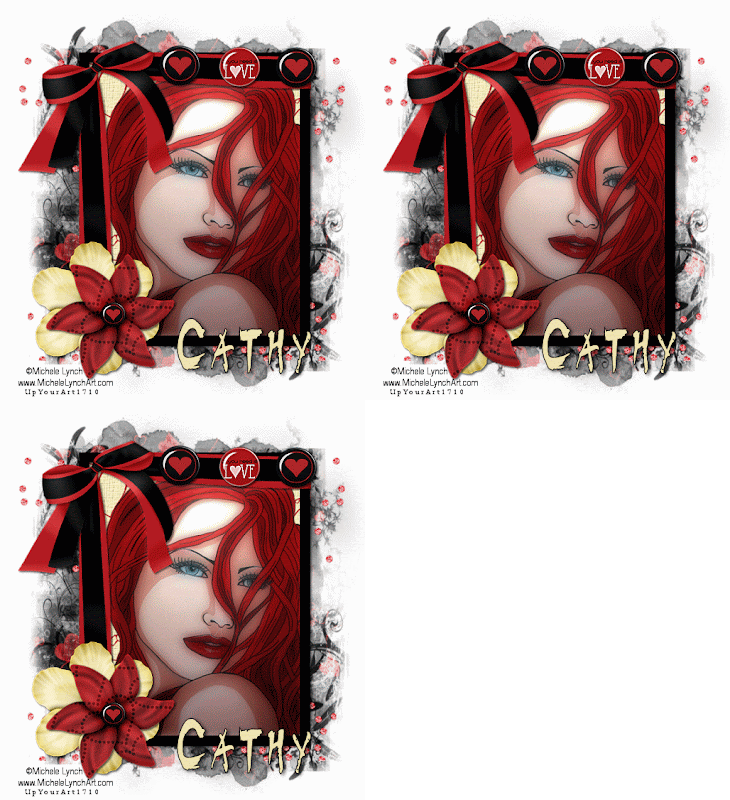
Tube of choice - I am using the artworkof Michelle Lynch which can be purchased from UpYourArt
Scrapkit - First Love freebie add-on from Designs by Ali HERE
Valentine Brads from KittzKreationz HERE
Thank you ladies !!
Plugins - Xero soft mood
Mask of choice
Font of choice
OK - open a new image 600x600 floodfill white
Open the frame from the kit and resize by 80% paste as a new layer
Click inside the frame with magic wand and selections, modify, expand by 5
Open Paper9 and paste as a new layer -selections, invert, delete and drag below frame
Now paste your tube as a new layer- resize to fit and hit delete again
I added Xero soft mood to my tube at the following settings:
Haziness - 125
Glow red - 50
Brightness & contrast at 0
Open flowers from the kit, resize and paste at bottom of frame
Open the valentine brads from Kittz and paste a few along the top of frame
I also placed a brad in the centre of the top flower
When happy with the tag hide white background and merge visible
Now open Paper 6 and paste as a new layer above the white background and apply mask of choice, delete and merge group
Open the diamond throw from the kit and paste above mask layer, resize and duplicate, mirror
merge the 2 diamond layers together
Add any copyright information and your name
Animation
If you wish to animate - click on the diamond layer and add noise at 40 uniform
Copy merged and paste into animation shop
Back to PSP - undo noise - then add noise again at 42 uniform
Copy merged and paste into animation shop after current frame
Repeat this step once more adding noise at 44
You can now view your animation and if happy save as a gif
©Michelle Lynch UpYourArt1710. This tutorial was written on 27th January 2009 by Cathy. Any resemblance to any other tutorial is purely coincidental. Do not copy, rewrite or alter in any way.
Sweet as Honey
Supplies
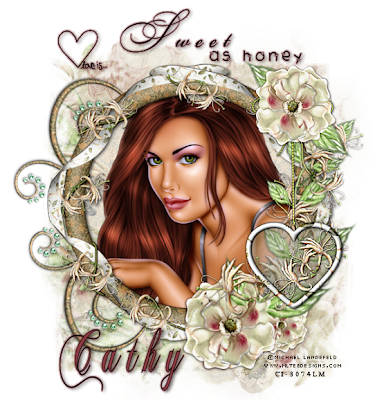
Tube of choice - I am using the artwork of Michael Landefeld which can be purchased from CILM
Scrapkit - Honeysuckle Rose by Sabre which can be downloaded from his site Here
Mask - otherworldFae Sabre Mask 2 which can also be downloaded at the above site
Thank you Sabre for your beautiful freebies!!
A few Fonts of choice
2Peas GGs Love me here (for the love is heart)
OK - open a new image 600x600 floodfill with white
Open the frame from the kit and resize by 80% paste as a new layer
Click inside frame with magic wand and expand by 7 -open Paper1 and paste as a new layer, selections, invert, delete and drag below frame - do not deselect yet - open your tube and paste as a new layer - resize if needed and position then hit delete.
Add a drop shadow to your frame 2 2 60 5
Open honeysucklerose1 and resize by 60% paste as a new layer and image mirror - I used my deform tool to turn it slightly - sharpen and drop shadow
Open rose6 and resize by 60% paste as a new layer on top of the branch - sharpen and drop shadow
Open roseheart3, resize and paste it above the branch but below the rose, sharpen and drop shadow
Hide white background and merge visible
Open the rosebling and paste as a new layer below the frame - resize and play about with the deform tool til you get it in place - see my tag above - duplicate, mirror and flip, merge these layers together and sharpen more
Open Paper3 from the kit and paste as a new layer above the white background layer
Apply the mask, delete and merge group - duplicate the mask layer and merge down
Now add your words - I typed out Sweet as Honey using 2 different fonts
and using the 2Peas font type out a small letter y for the heart
I added a gradient glow to the words
add your name and any copyright information
You can now delete the white background layer and save as a png
©Michael Landefeld CI-3074LM. This tutorial was written on 25th January 2009 by Cathy. Any resemblance to any other tutorial is purely coincidental. Do not copy, rewrite or alter in any way.


