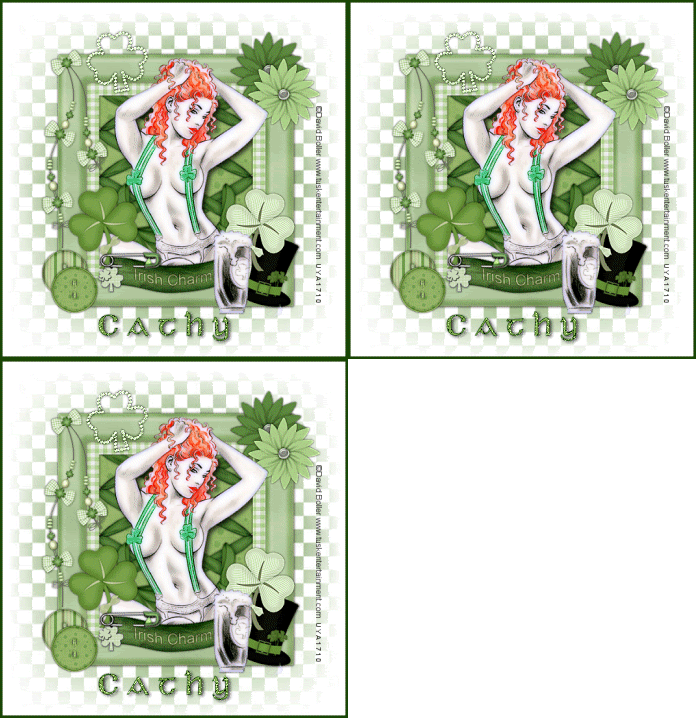
Supplies
Tube of choice - I am using one of Steve Baier's Irish Girls which you can purchase from UpYourArt
Scrapkit - 'Irish Charm' gorgeous kit by Bluey which you can download here
Thanks Bluey!
Mask - Beckymask042 here
Font - Celtic Gaelige here
OK - Open a new image 600x600 floodfill white
Copy & paste a frame of choice from the kit - I used Frame 1
click inside the centre of frame with magic wand and selections, modify, expand by 4
paste a paper of choice as a new layer, selections, invert, delete and drag below the frame layer
Copy one of the tied lace & paste as a new layer above the paper layer, resize to fit, duplicate & mirror - paste your tube above the frame layer and erase any overhang at bottom
Paste a shamrock either side of tube & position at bottom
Copy & paste the Irish Charm label, resize & position at bottom of frame
add the safety pin & erase a bit so it looks like it is pinned through the label
Add some flowers and buttons
add a drop shadow to all elements - 0 0 70 5
Drop shadow tour tube 5 5 70 9
when happy how your tag looks, hide the white background layer & merge the rest visible
unhide background layer and paste a paper of choice as a new layer above it
Apply the mask, delete & merge group, duplicate & merge down
Copy the bling shamrock & paste as a new layer on the tag where you think it looks best
sharpen more & drop shadow 0 0 70 5
Now add your name & copyright information
merge your name layer with the shamrock bling layer, layers arrange, bring to top
If you want to add a border around your tag this is how I do it:
add a new raster layer on top, selections, select all, selections, modify, contract by 4
now floodfill the contracted layer with a colour for your border, select none
You now have a border without all layers being merged
Animation
Make sure you are on your merged name & shamrock layer
adjust add noise, random 25
Copy merged & paste into animation shop
back to PSP, undo add noise then add noise again changing it to 30
Copy merged & paste into ani shop after current frame
Repeat above steps once more changing noise to 35
View your animation, if happy save as a gif
This tutorial was written by me on 21st February 2009

